前言
有了前面几篇博客的介绍,我们就可以很容易的搭建并编辑我们的博客了,不过既然是属于自己的博客网站,自然也就想让其更加美观,更有意思,所以呢我下面介绍一下Hexo博客的主题美化操作。
1. Next主题
Hexo博客支持很多主题风格,其中Next主题是Github上Star最多的主题,其一直在更新维护,支持非常多的外部插件和功能选项。我目前使用的是Next6.0版本,下面我会介绍基于Next6主题的界面美化手法。
1.1 Next主题的安装配置
Next主题的安装方式很简单,只需要在博客主目录下执行:
1
| git clone https://github.com/theme-next/hexo-theme-next themes/next
|
然后设置站点配置文件_config.yml:
即可将我们的Hexo博客主题替换为Next主题。
1.2 主题简单配置
Next主题提供很多方便的功能,我们来一一介绍:
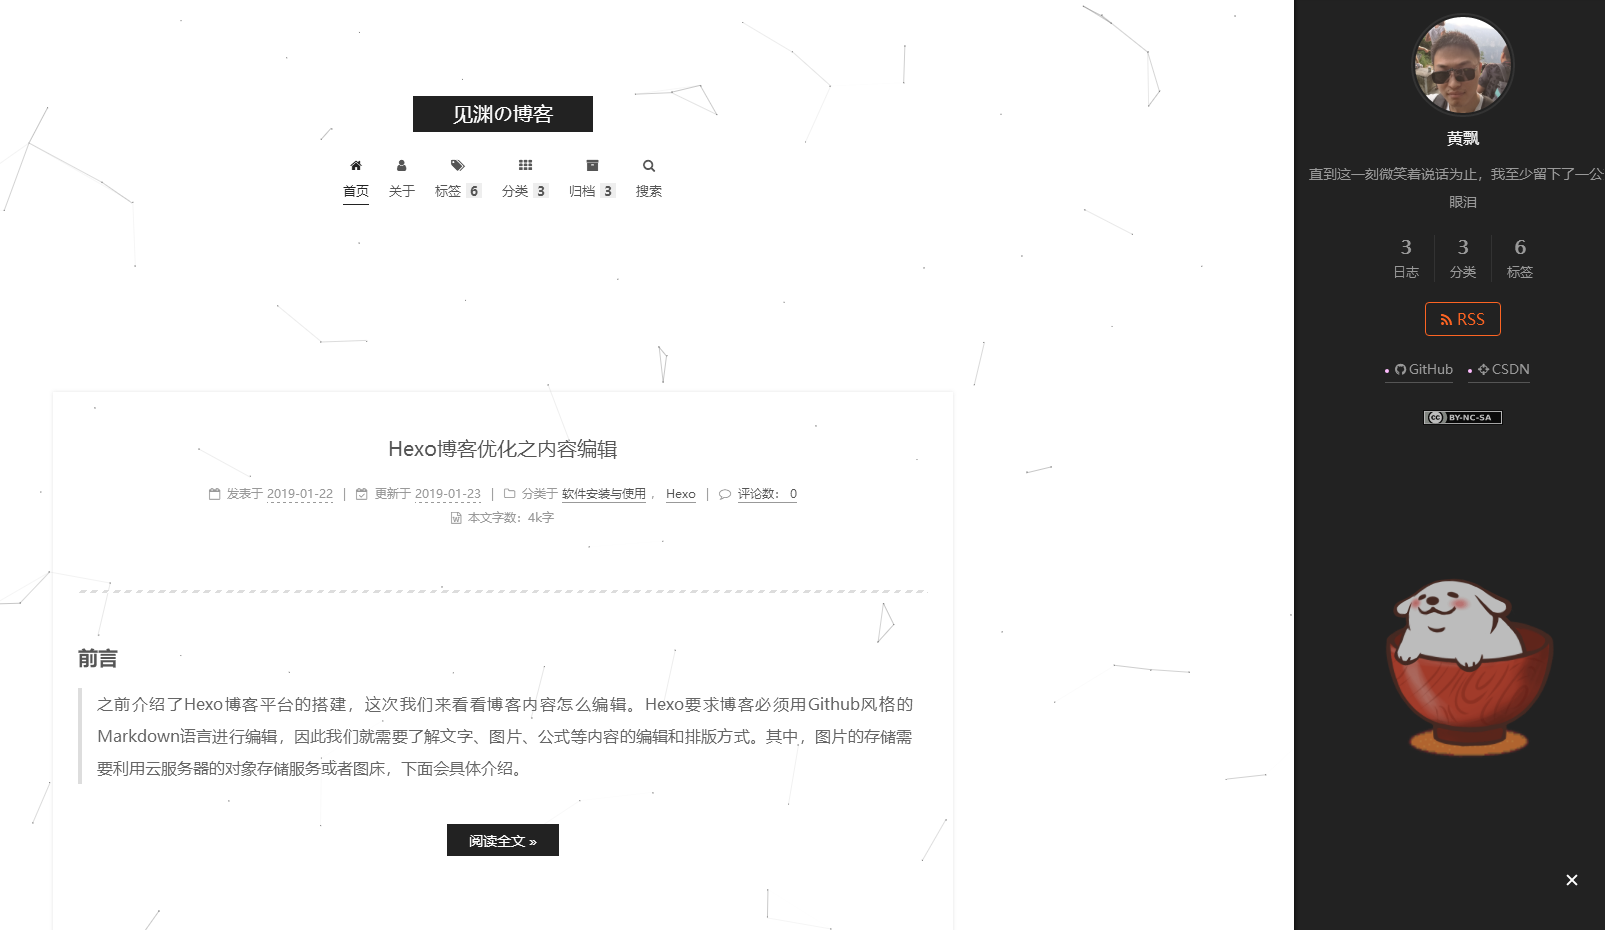
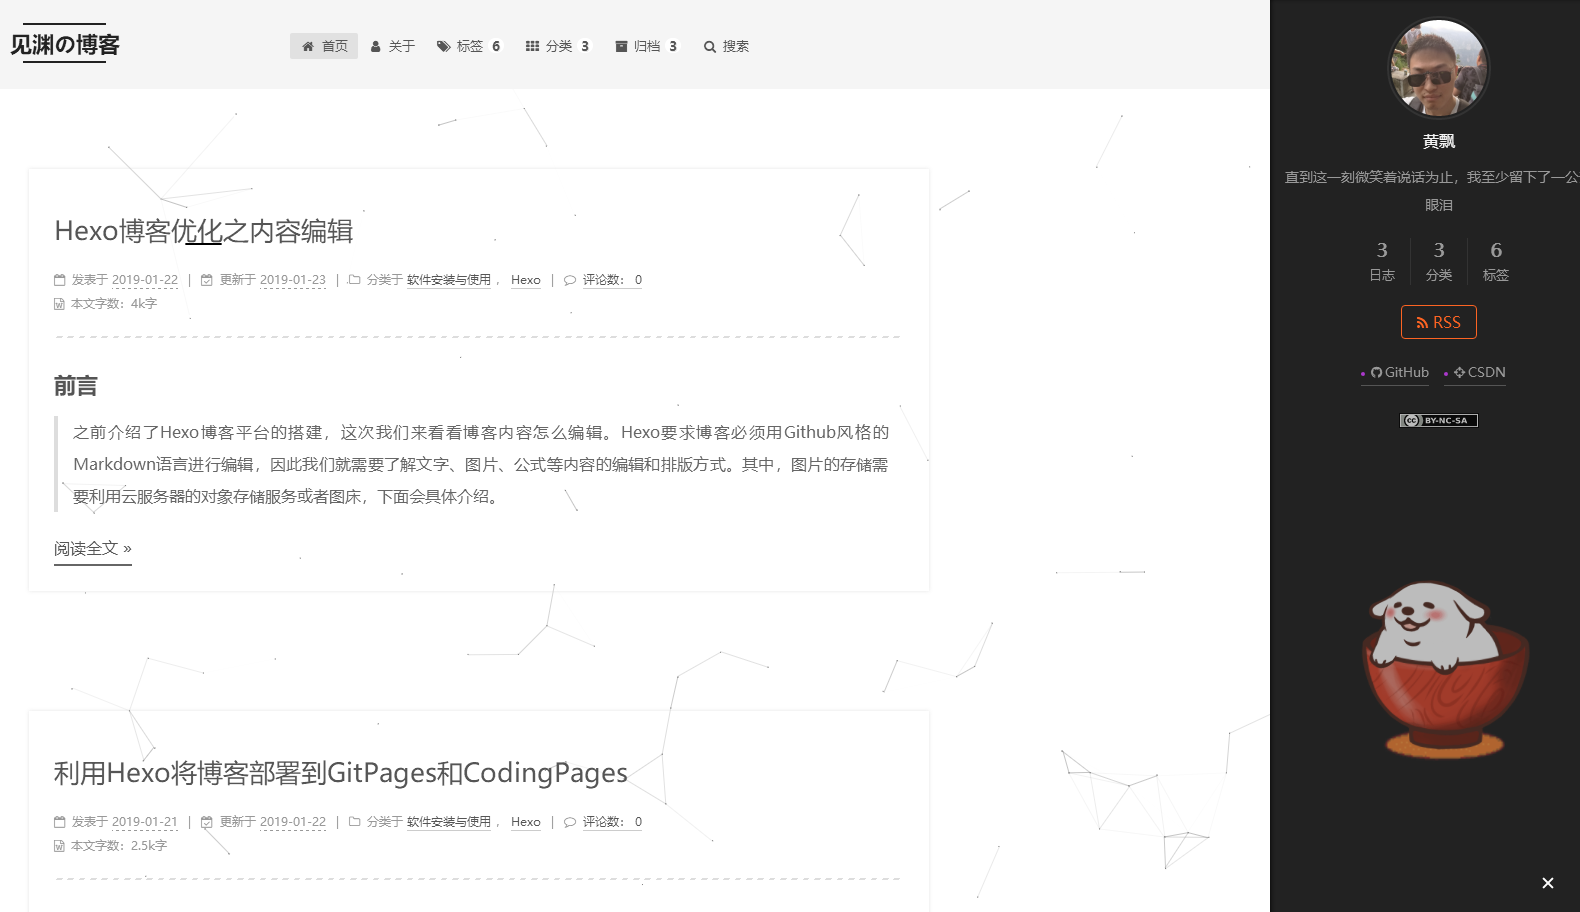
- Next主题风格: Next提供了四中主题风格scheme,可以在主题配置文件blog/themes/next/_config.yml文件中进行选择,分别是Muse、Mist、Pisces、Gemini:
 这里我选择的是Gemini主题,也就是最后一种样式;
- Next主题一般配置:
1
2
3
4
5
6
7
8
9
10
11
12
13
14
15
| override:false
cache:
enable:true
menu:
home: / || home
about: /about/ || user
tags: /tags/ || tags
categories: /categories/ || th
archives: /archives/ || archive
menu_settings:
icons: true
badges: true
scheme: Gemini
|
以上是Next最常规的配置,而相应的站点配置blog/_config.yml文件的基本配置为:
1
2
3
4
5
6
7
8
9
10
11
12
13
14
15
16
17
18
19
20
21
22
23
24
25
26
27
28
29
30
31
32
33
34
35
36
37
38
39
40
41
42
43
44
45
46
47
48
49
50
51
52
53
54
55
56
57
58
59
60
61
62
63
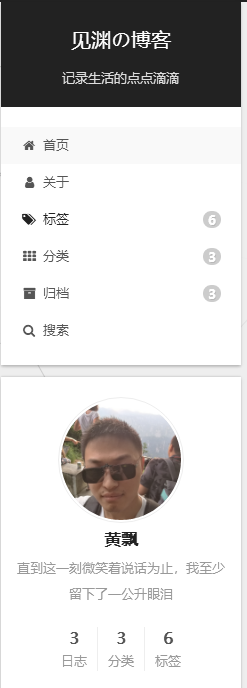
| title: 见渊の博客
subtitle: 记录生活中的点点滴滴
description: 直到这一刻微笑着说话为止,我至少留下了一公升眼泪
keywords:
author: 黄飘
language: zh-CN
timezone: Asia/Shanghai
url: https://huangpiao.tech
root: /
permalink: :year/:month/:day/:title/
permalink_defaults:
source_dir: source
public_dir: public
tag_dir: tags
archive_dir: archives
category_dir: categories
code_dir: downloads/code
i18n_dir: :lang
skip_render: README.md
new_post_name: :title.md
default_layout: post
titlecase: false
external_link: true
filename_case: 0
render_drafts: false
post_asset_folder: false
relative_link: false
future: true
highlight:
enable: true
line_number: true
auto_detect: true
tab_replace:
index_generator:
path: ''
per_page: 10
order_by: -date
date_format: YYYY-MM-DD
time_format: HH:mm:ss
per_page: 10
archive_generator:
per_page: 30
yearly: true
monthly: true
tag_generator:
per_page: 20
theme: next6
deploy:
type: git
repo:
github: https://github.com/nightmaredimple/nightmaredimple.github.io.git
coding: https://git.coding.net/nightmaredimple/nightmaredimple.git
branch: master
|
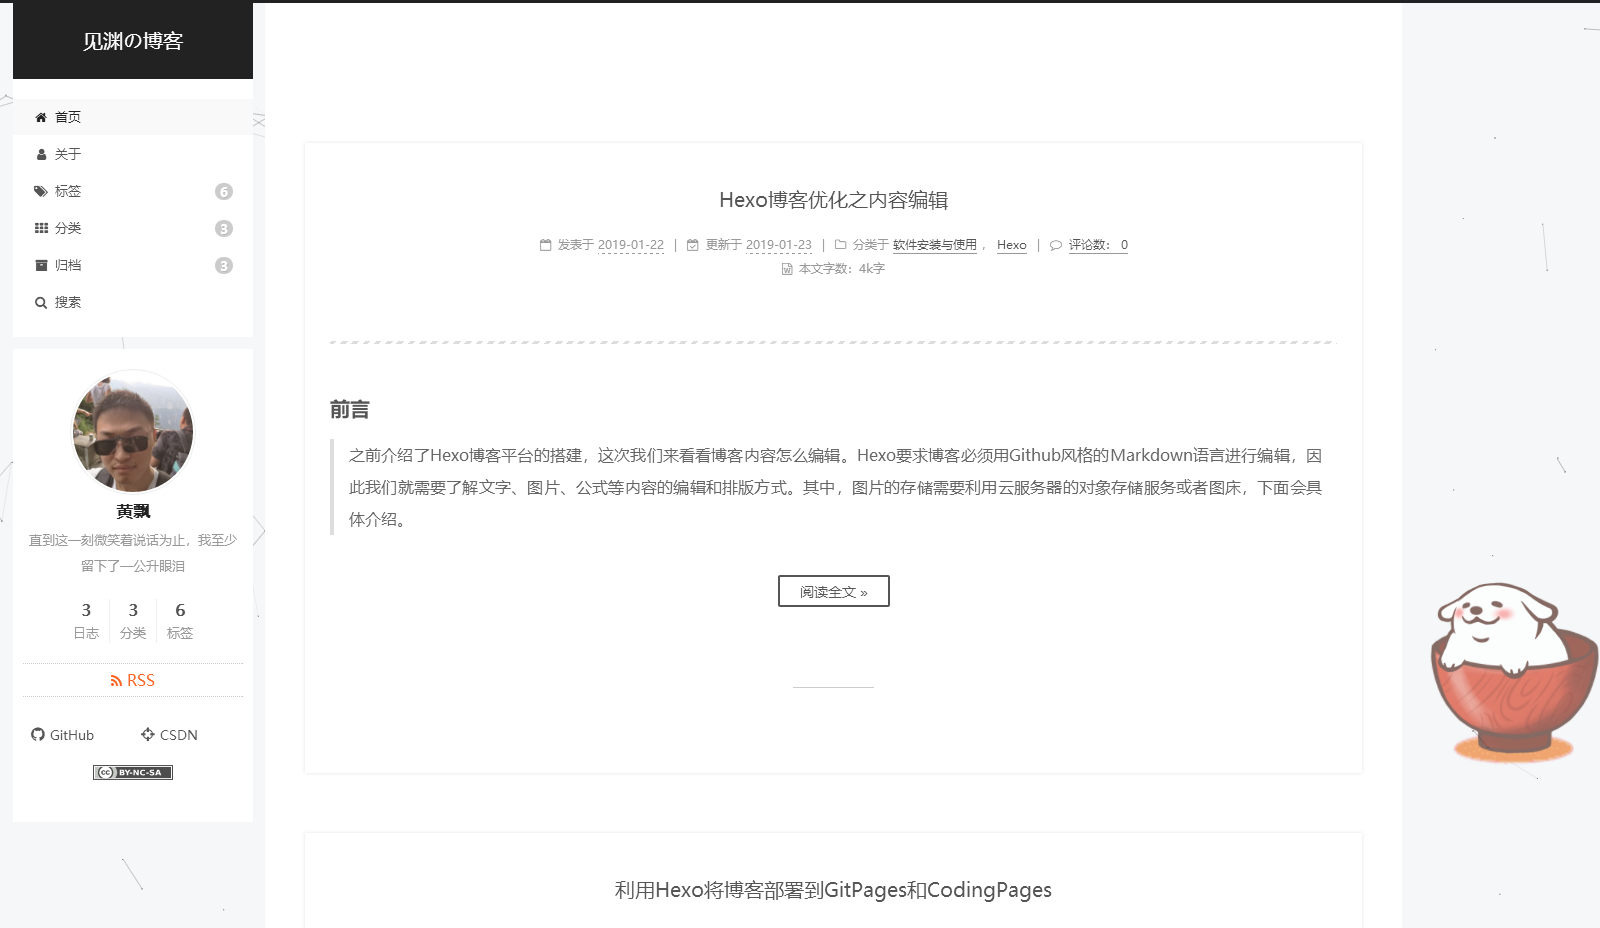
以上的效果如下:
2.添加博客自定义图标
我们博客的默认图标是 H,不过Next支持修改图标,下面是我的图标:
博客网站的图标可以在easyicon、bitbug、iconfont等网站选择和制作,然后选择或者创建相应大小的图标文件,放置在blog/themes/next/sources/images目录下,并在主题配置文件中进行如下配置,只需要设置small和medium两个就可以:
1
2
3
4
5
| favicon:
small: /images/16x16.png
medium: /images/32x32.png
apple_touch_icon: /images/128x128.png
safari_pinned_tab: /images/logo2.svg
|
3. 鼠标点击特效
鼠标的点击红心特效如下:
具体步骤如下:
在 /themes/next/source/js/src下新建文件 clicklove.js ,接着把下面的代码拷贝粘贴到 clicklove.js 文件中:
1
2
3
| !function(e,t,a){
function n(){
c(".heart{width: 10px;height: 10px;position: fixed;background: #f00;transform: rotate(45deg);-webkit-transform: rotate(45deg);-moz-transfor
|

 这里我选择的是Gemini主题,也就是最后一种样式;